
HOW TO MAINTAIN TRANSFORMER COOLING METHODS


HOW TO MAINTAIN TRANSFORMER COOLING METHODS
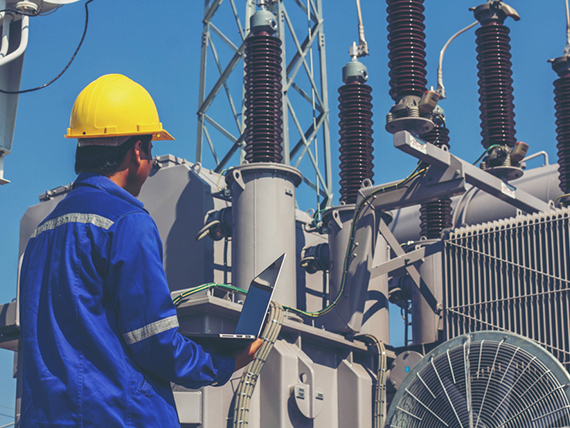
Heat is one of the main causes of destroying the transformers. Heat is generated by internal losses, due to loading, high ambient temperature, and solar radiation.
Therefore, cooling methods play an important role in operating the transformer. You need to know how the cooling system of your transformers is and how to detect problems in the cooling systems. The cooling class of each transformer is required on its nameplate. Some transformers use more than one class of cooling and load rating is indicated. At each step of additional cooling, the rating increases to correspond with increased cooling. Note that the letter “A” indicates air, “FA” indicates forced air (fans), “O” indicates oil, “FO” indicates forced oil (pumps), “G” indicates some type of gas, and “W” indicates there is a water/oil heat exchanger.
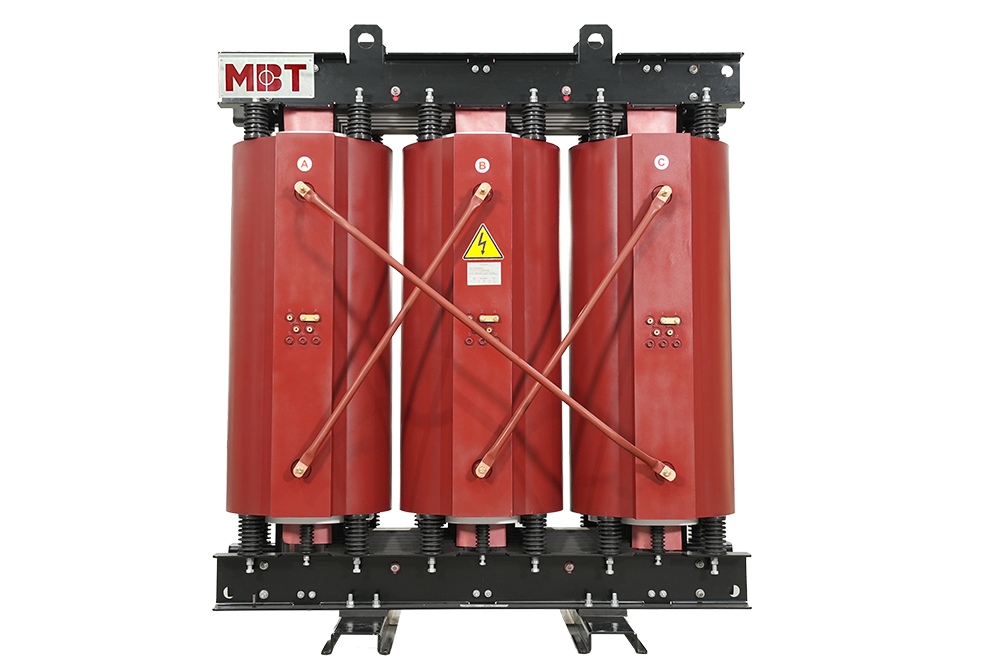
DRY-TYPE TRANSFORMER MAINTENANCE SUMMARY
Maintenance after energizing and allowing temperature and loading to stabilize
• Do an infrared scan and compare with temperature gauge if any.
• If the transformer is gas-filled (nitrogen [N2]), check the pressure gauge against data sheets; never allow gas pressure to fall below 1 psi.
• Check to load and compare with nameplate rating.
• Functionally test fans and controls for proper operation.
• Functionally test temperature alarms and annunciator points.
• Check area around transformer – clear of debris and parts storage.
• Check transformer room for proper ventilation.
Maintenance After 1 week of operation at normal loading
• Perform an infrared scan and compare with temperature gauge if any.
• Check temperature gauge, if any, and compare with nameplate rating.
• Check to load and compare with nameplate rating.
Annually (Note: The time between these periodic inspections may be increased if the first internal inspection of windings and connections are clean and in good condition and if loading is at or below nameplate rating.)
• Perform an infrared scan before de-energizing.
• De-energize and remove panels for internal inspection.
• If possible, re-energize, re-load, and do infrared (IR) inspection for hot spots and loose connections.
• Use a vacuum to remove as much dirt as possible.
• After vacuuming, use low-pressure, dry air (20 to 25 psi) to blow off the remaining dirt. Caution: Make sure the air is dry.
• Check for discolored copper and discolored insulation (indicates overheating).
• Check tap changer and tap connections.
• Check for corroded and loose connections.
• Check for loose iron and damaged coils.
• Check for carbon tracking on insulation and insulators.
• Check for adequate electrical clearance.
• Check for cracked, chipped, and loose insulators.
• Check base or support insulators, including vibration isolation, supports.
• If windings are found dirty, add filter material to air intake ports.
• Megger® high side windings to low side windings and both high and low side to ground.
• Do a turns ratio test if electrical problems are found or suspected.
• Check fan blades for cleanliness; remove dirt and dust.
• Check fans, controls, alarms, and annunciator points.
• Check the pressure gauge on N2 filled transformers; compare with weekly data sheets; never allow pressure to fall below 1 psi.
• Check all bolted connections with wrenches or sockets for tightness.
• Check for loose mounting for windings.
• Check primary, secondary, and ground connections.
• Repair all problems found in the above inspections.
Source: Blogspot